Repairing old neglected car seats while trying to avoid the 'Just painted' look.
These seats from my Rover p5b were a spare set and used as a basis for experimenting.The end result was good enough that they ended up being put in the car.
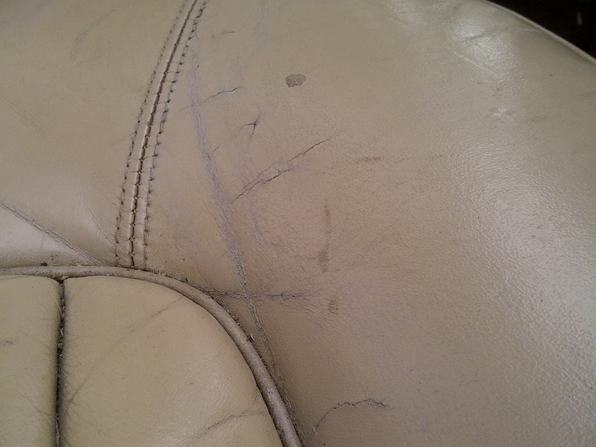
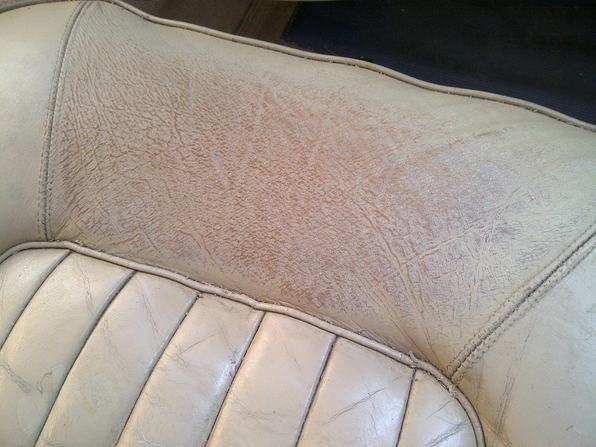
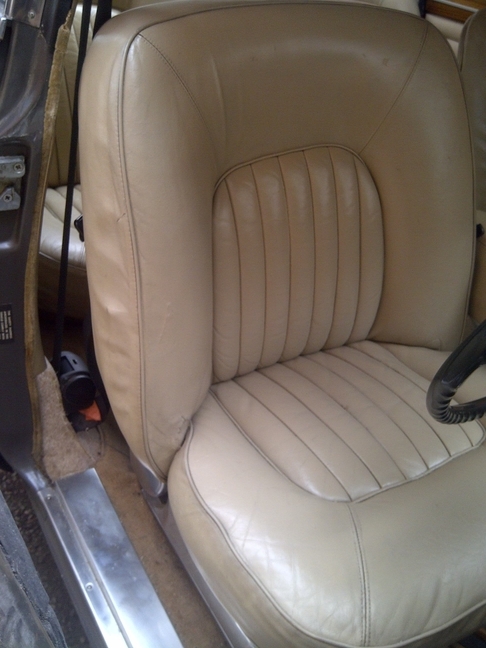
They had been painted,the paint was thick and brittle.The seats had cracked in places. This is the drivers seat back rest,the leather surface was stiff and hard,it was impossible for hide food to penetrate the paint layers to soften the leather. I used a cellulose thinner to remove the excess paint.Some seams had started to open where the original thread had broken,these were repaired using a curved sailmakers needle using the original holes and strong twine,rubbed with candle wax to help ease it through the leather.
I used 180 grit wet and dry used wetand most of the original finish was removed.The seat was then cleaned with an alcohol based cleaner and water using a soft scrub brush then an abrasive pad and 1000 grit wet and dry paper.This left the seats dull,with patches of the original color visible. The leather now absorbed a few coats of lanolin based conditioner with a few hours left between coats so it would soak in.This left the leather softer and the excess conditioner was wiped off and the seats left to dry for a couple of days.Although you can buy a leather putty I used a water based sanitary sealer to fill deep creases and scratches. I used thin layers rubbed in with a finger and then sanded very lightly when dry.
A very careful rubbing down with wet and dry removed most of the damage like the creases in the back rest and here in the corner.The leather was then treated with conditioner.For the creases and scratches an artists brush was used,painting in the dye and removing the excess with a clean cloth..
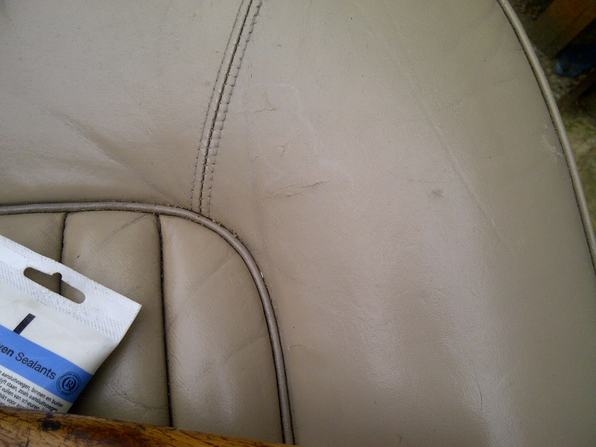
The cuts and scratches are now very hard to see but the seat is ready for the first of the light sprayed coats
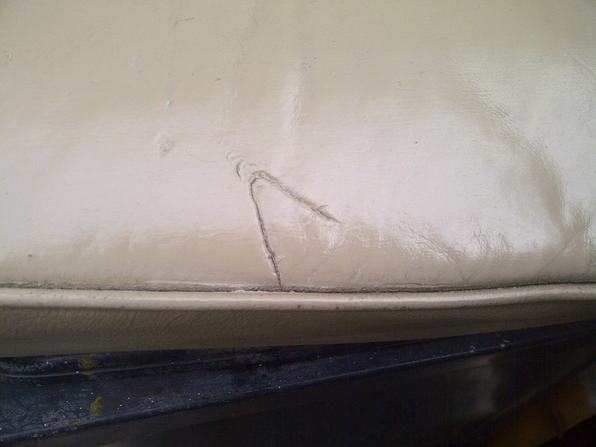
A deep scratch on the front seat squab had penetrated the leather surface but had not gone right through so the leather didn't need a patch underneath.The area was cleaned first with thinners,then an alcohol based cleaner.A toothpick removed the paint and debirs from the bottom of the scratch.The leather was softened and then the scratch cleaned with meths and dried..
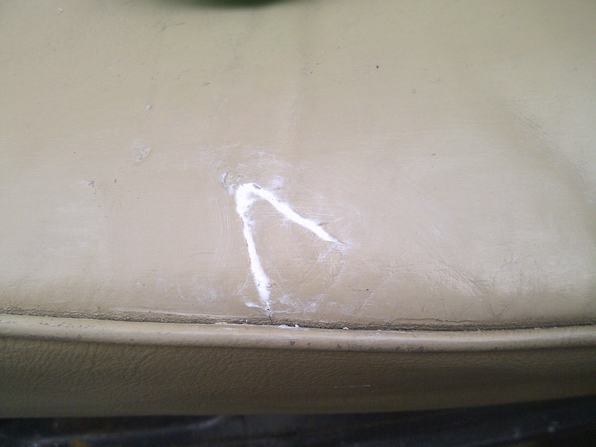
A paintable,water based flexible filler was used to repair the damage.This was a sanitary type filler that I had I tested on leather before,it adheres well and remains permanently flexible. The first layer was pushed hard into the leather to key to it.A second thin coat was applied after the first had cured left standing slightly proud. When it had fully cured a rub with very fine wet and dry smoothed in the repair..
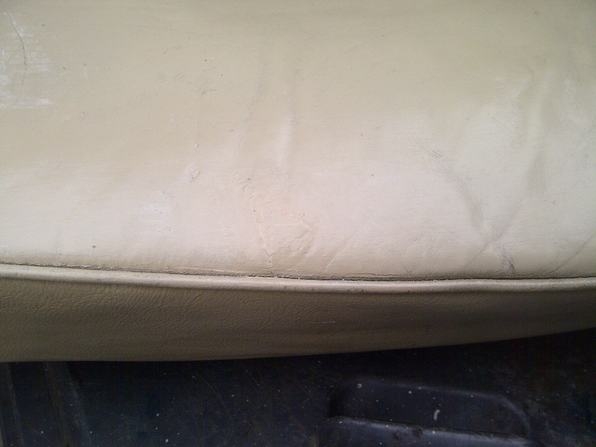
The same dye was built up on the repaired part of the seat using a soft cloth. Each thin coat allowed to dry before the next was applied using a soft cloth.The leather is now much more flexible but the cured filler is able to stretch and bend with it.The seat squab is now ready for the first sprayed coat.
The leather on the front of the drivers seat was very hard and thick and seems to have been sprayed with a cellulose upholsterey paint. The paint was partially removed with thinners.The leather was then carefully smoothed with wet and dry (1000 grit) used with soap as a lubricant.This left only traces of the paint and the leather was then washed,cleaned with alcohol and softened with the leather conditioner..
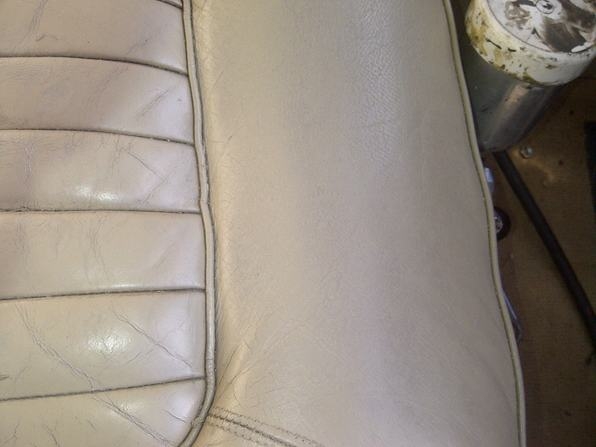
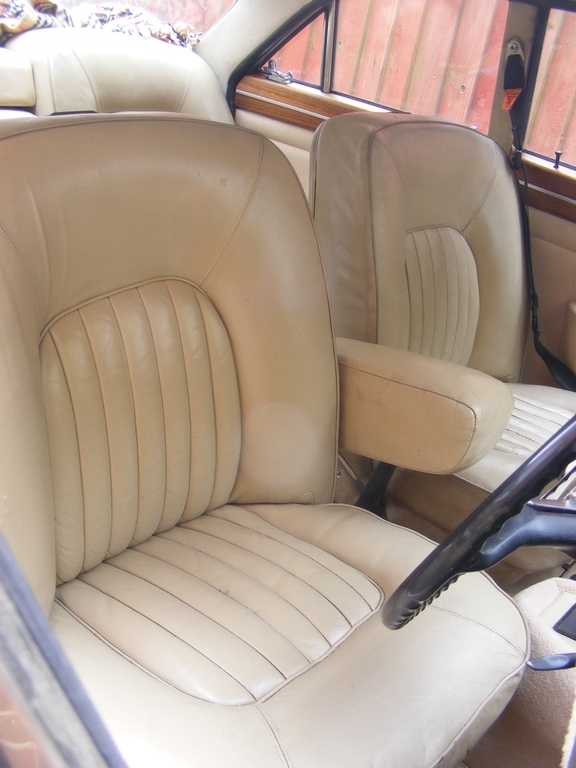
Dye was then worked into the surface,each coat was allowed to dry for a few hours then another coat applied. The dye dries slowly,the first coat was applied sparingly and rubbed in hard to key to the leather surface.Subsequent coats are applied more gently.The leather was left much smoother and far more supple the 'grain' of the leather is still visible. The seat will be given a few more mist coats to help blend in where the repairs have been made.Unless the previous coats are completely dried the next coat tends to lift them.

The dye was rubbed into the cracks.This was allowed to dry then the process was repeated. A third application was rubbed into the whole seat and this was repeated a few times allowing the dye to dry off well between each coat.Most of the damage has become more difficult to see. According to the dye makers instructions the seats should be finished with spray coats using a conventional gravity fed spray gun. I have yet to do this as the finish I consider is in keeping with the cars age.The seats still have a few marks and creases but for seats over forty years old are in good condition with soft leather..
When the dye was dry the seats were again given a coat of conditioner and a wax based sealer.
Time taken was around 12 hours for each pair of seats spread over a couple of weeks. Total cost well under £50,with enough material left to do a second pair of seats.The dye I used was by Woolies,its said to have a shelf live of six months but my bottle had been in the shed for a couple of years.
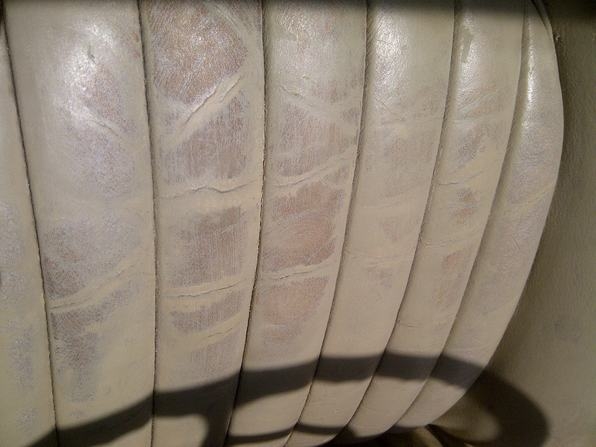
Some old leather seats get a wavy edge on the seams on the edges. I was advised to carefully pull the plastic insert in the seam whilst warming the seat with a hair drier. This worked and makes the seat base look much less like a cornish pasty.
The method I used worked for me,one thing I did find is that leather seats even when they look clean hold a lot of dirt and grease and this can interfere with the finish and the dye will not penetrate grease in creases.
Back to Rover P5b page,click here.